

Guides & Tips
How to Measure Roller Blinds Correctly
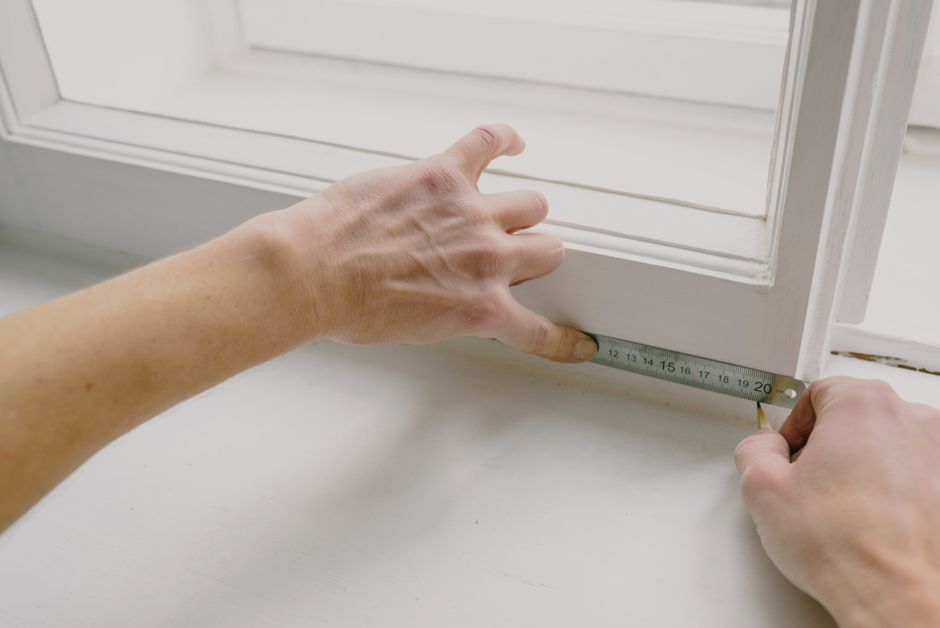
In our workshop we always say the same thing: no matter how good a blind is, it will look cheap if the light gaps leak. Most problems are not caused by the fabric or the motor – they start with a measurement taken wrongly from day one. This guide follows the exact sequence we use during site surveys, so you can produce a reliable estimate before our team re-measures everything on site.
Not confident measuring yourself?
We survey and measure for free – and re-measure on site before production so the final size is always our responsibility.
Schedule a Free SurveyTable of Contents
1. Prepare your tools and know the mount type
The tools are simple: a 3-5 meter steel tape, a pencil, and a notebook. Before measuring, decide how the blind will be mounted:
- Inside mount – brackets sit inside the reveal and the blind follows the glass plane. Requires at least 6-7 cm of reveal depth.
- Outside mount – the blind covers the whole frame. Used when the reveal is uneven or when you want to fully block light gaps.
For more on choosing the whole system, see our 7 tips for office roller blinds.
2. Measuring for an inside mount
- Measure the width at three points: top, middle, bottom. Note the smallest number – that is the safe width.
- Measure the height at three points: left, center, right. Note the largest number.
- Subtract about 0.5 cm per side so the blind fits loosely and never rubs.
Why three points? Building faults – tilted walls or bent frames – are common in Jakarta buildings. Relying on a single measurement is how blinds jam.
3. Measuring for an outside mount
- Measure the area you want to cover, then add 10-15 cm to each side so edge light gaps are covered.
- Measure the height of the coverage area, adding 10-15 cm above and below.
- Confirm the bracket position is clear of pipes, wiring and cladding.

4. The most common measuring mistakes
- Using a cloth tape – it stretches, so the result is larger than reality.
- Measuring once and producing – without a second confirmation point.
- Forgetting bracket space – the blind fits on paper but the bracket does not.
- Assuming every window is the same – a 1-2 cm difference is common even on one floor.
A quick double-check routine saves most of these errors. Write the date, the mount type, and the three-point readings on a simple sketch of the window, then ask a second person to re-read the tape before you finalize. Numbers confirmed by two pairs of eyes are far harder to get wrong. If the window has an unusual opening mechanism – sliding, awning, top-hung, or fixed glass – note it on the same sketch, because the opening type changes both the bracket choice and the gap allowance.
Also record the reveal depth in millimetres. A frame that looks deep enough for an inside mount may measure only four centimetres, which is too shallow for a standard bracket. Capturing that detail during the survey prevents the classic surprise of a perfect-looking measurement that cannot physically be installed. If you are working on several floors, number every window and keep one sketch per number; when dozens of measurements arrive at a workshop, a clear numbering system is what keeps every blind matched to the right opening.

5. When to hand it over to a manufacturer
Manual measurement is useful for estimation. For production, we always re-measure on site – because the one responsible for a wrong size should be us, not you. This is the difference between a blinds manufacturer and a reseller: a reseller sells standard sizes, we produce to your exact spot.
Once your sizes look right, continue with how to estimate a blinds project budget. And keep every sketch and the numbers in a simple binder – it doubles as the handover document your installer and your site supervisor will both thank you for later.